
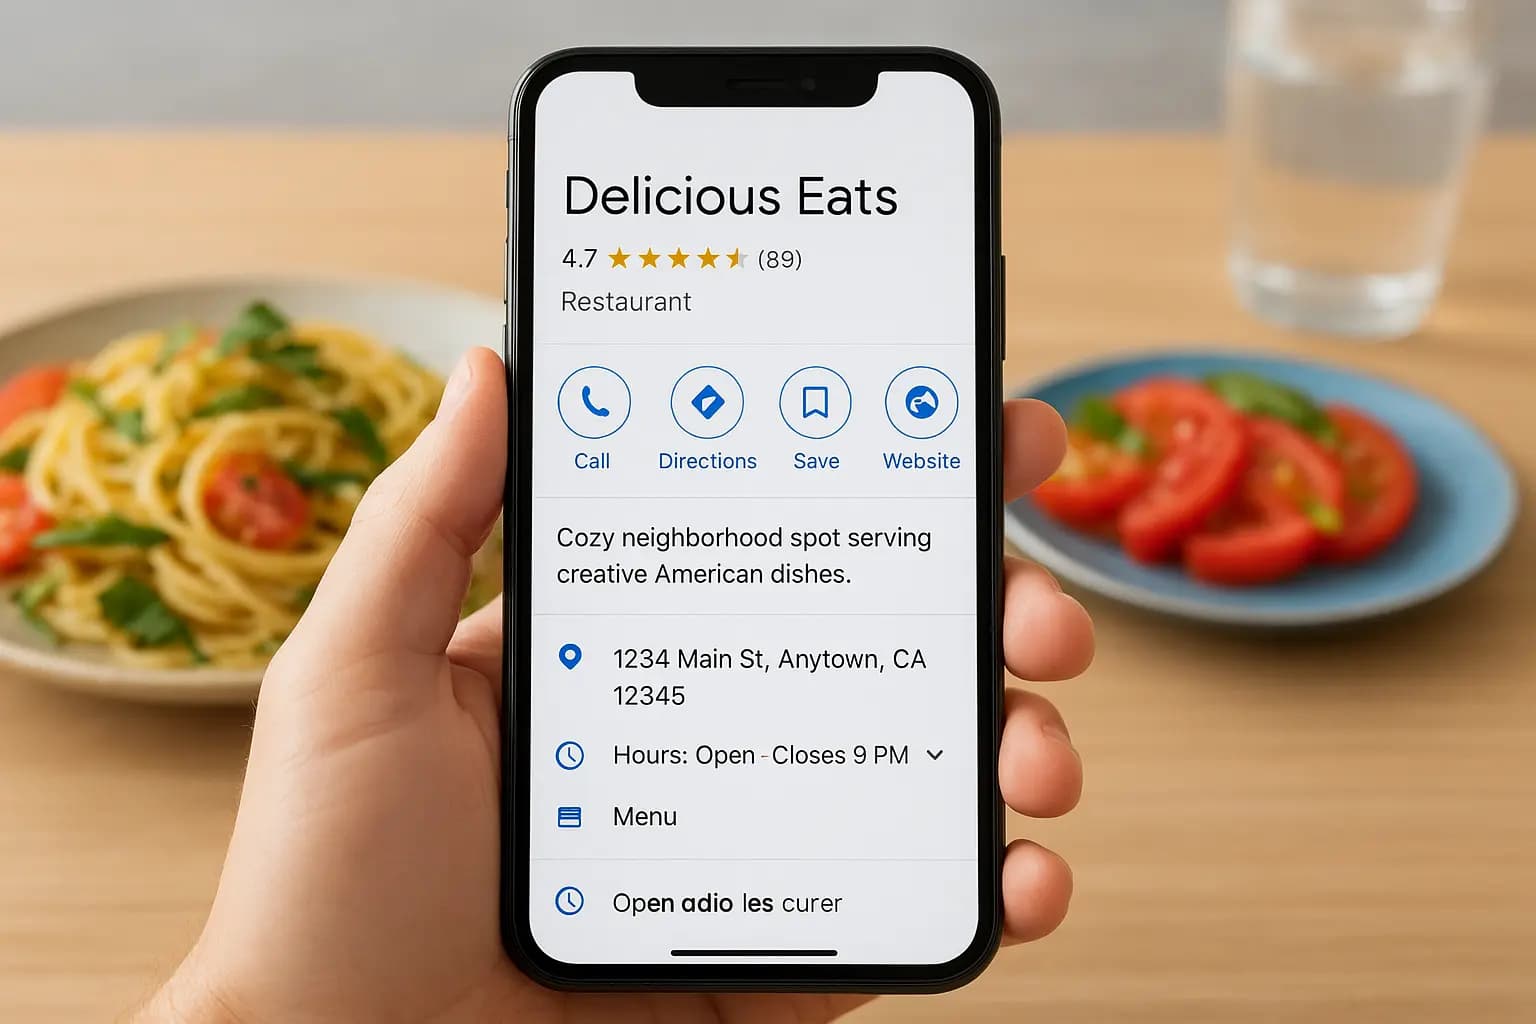
When someone nearby searches "best tacos near me" or "Italian restaurant open now," they rarely scroll past the map. They tap one of the top three listings, check the photos and hours, and decide in under a minute. If your restaurant is missing from that map, or your listing is half empty, those diners go to the place down the street. A Google Business Profile for restaurants is the free tool that puts you in that spot.
Here is the short answer. Claim your listing, verify it, and fill in every field: hours, menu, photos, ordering and reservation links, and a plan for replying to reviews. Most owners can finish the basic setup in about an hour. Verification can take a few days, so start there.
Below, you will go through each step in order, from creating the profile to the optimizations that move you up in local results. At Web Solutions CA, we help Orange County restaurants and other local businesses with this every week, so the steps come from real listings, not theory. Follow them in order and you will have a profile that works for you.
Why your restaurant needs a Business Profile
Think about how you pick a place to eat in an unfamiliar neighborhood. You search on your phone, scan the map, and tap whatever looks open and well reviewed. Your customers do exactly the same. A Business Profile is the listing they see, and it acts as your storefront on Google whether or not you ever touch it.
Where your listing appears
Your profile shows up in several places, and each one catches a diner at a different moment. Each placement answers a different question, from "where should we eat?" to "how do I get there?"
- Local results on Google Search: the map with three listings that appears for searches like "pizza near me."
- Google Maps: where people browse by cuisine, compare ratings, and start navigation.
- Branded searches: the panel that appears when someone types your restaurant's name.
- Action buttons: call, directions, menu, order online, and reserve, all one tap away.
What a profile does that your website cannot
Speed is the first advantage. Diners want your hours, a menu, and a photo of the food within seconds. A profile gives them all of that on one screen, with no page to load and no PDF menu to pinch and zoom. Your website still matters, but the profile is where most first decisions happen.
Cost is the second. The profile is free, and Google says local ranking depends on relevance, distance, and prominence. You control relevance by choosing accurate categories and describing your food. Prominence grows with complete information and a steady flow of reviews. Distance you cannot change, but you can beat nearby competitors on the other two.
A complete, active profile is the cheapest marketing a restaurant can own.
What happens if you ignore it
Even if you never create a listing, Google may already have one for your restaurant. Anyone can suggest edits to an unclaimed profile, which means wrong hours, an old phone number, or a "permanently closed" label can sit there for months. Diners trust what Google shows them. If it says you close at 8 p.m. and you close at 10, they believe Google.
The cost adds up quickly in a crowded market. In places like Costa Mesa or Irvine, dozens of restaurants compete within a one-mile radius. Meanwhile, the owner next door has fresh photos, a posted menu, and replies to every review. When a hungry diner compares two similar listings, the more complete one wins the tap. The next five steps make sure that is you.
Step 1. Claim or create your profile
Before you build anything, check whether Google already lists your restaurant. Many restaurants have a listing created from public data or by a past owner. Creating a second one splits your reviews and can get both suspended, so a two-minute search saves real trouble.
Search first, then claim or create
Sign in to the Google account that should own the profile. Use a business email, not a personal Gmail, so you never lose access if a manager leaves. Then follow these steps:
- Search your restaurant's name and city on Google or Google Maps.
- If a listing appears, click Claim this business or Own this business? and follow the prompts.
- If nothing appears, go to google.com/business and choose Add your business to Google.
- If someone else already claimed it, use the request access option. The current owner gets a chance to respond first.
Enter your details exactly
Type your name exactly as it appears on your sign. Do not add "best pizza in Orange County" or other keywords. Google can suspend listings for that, and it looks spammy to diners anyway. Pick the closest primary category for now, such as "Mexican restaurant" instead of plain "Restaurant." You will refine it in Step 3.
Next, answer yes when Google asks whether customers can visit your location, then add your street address, phone number, and website. Use the same formatting you use everywhere else, down to "Suite" versus "Ste."
Your name, address, and phone number should match your sign, your website, and every other listing, character for character.
NAP mismatches confuse Google about which business is which, and they confuse diners too.
If you run a delivery-only kitchen, the setup differs slightly. A Google Business Profile for restaurants without a dining room can hide your street address and show a delivery area instead. Choose that option when Google asks whether customers visit you in person.
Once you finish, Google will ask you to verify the profile. That is Step 2.
Step 2. Verify your restaurant
Verification proves to Google that you actually run the restaurant. Until you verify, your edits will not show publicly, and you cannot manage reviews or other features. Google decides which options appear for your listing, so you may not see every method below. Google explains the process in its verification help page.
Pick the method Google offers
A Google Business Profile for restaurants usually gets one of four options. Choose the fastest one on your screen.
| Method | How it works | Typical wait |
|---|---|---|
| Phone or text | Google sends a code to your listed number | Minutes |
| A code goes to your business email | Minutes | |
| Video | You record a short clip of your location | A few days |
| Postcard | A code arrives by mail at your address | Up to 14 days |
Most restaurants end up with video or postcard. Video is usually faster, and it does not depend on someone checking the mail.
Record a video that passes review
Shoot one continuous clip with no cuts. Walk slowly and keep the camera steady. Show the reviewer that the place is real and that you run it. Capture these in order:
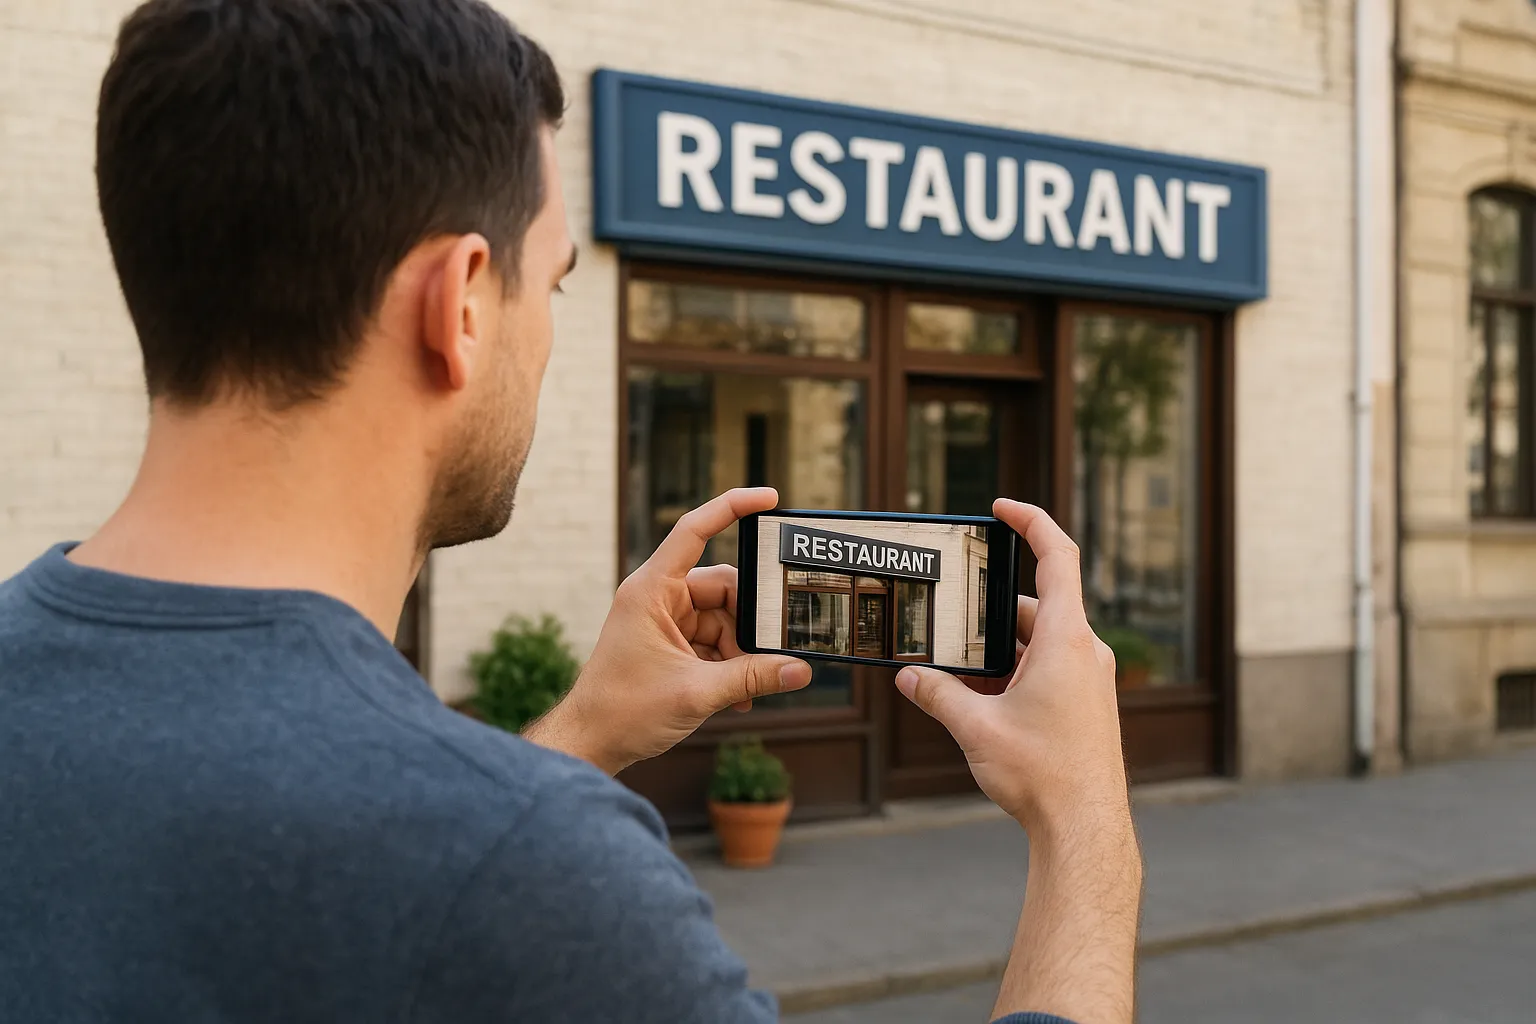
- The exterior, your sign, and the street around it.
- The dining room, kitchen equipment, and menu board.
- Proof of management, such as a business license or a key opening the front door.
If verification stalls
Postcards fail most often because of a typo in the address or a mailbox nobody checks. Do not request a second postcard while the first is on its way, since that can invalidate the earlier code. Enter the code when it arrives, then check that your profile status reads verified.
Do not edit your business name or address while verification is pending.
Changes mid-process can trigger a suspension. If Google rejects your video, record a new one that fixes what was missing, usually the sign or the proof of management. Once you are verified, you can move on to the details diners care about.
Step 3. Fill in hours, categories, and attributes
With your listing verified, fill in the fields that decide whether Google shows you for a given search. A Google Business Profile for restaurants with these three areas done well gets matched to more searches and earns more taps.
Set hours that match reality
Enter your regular weekly hours first. If you close between lunch and dinner, add both time blocks for that day. Then set special hours for Thanksgiving, Christmas Eve, and any private event, and do it before the day arrives. Google shows these dates to diners.
Restaurants also get "more hours" options. Use the ones that apply:
- Kitchen hours if the kitchen closes earlier than the bar
- Happy hour and brunch
- Delivery and takeout windows
Choose categories carefully
Your primary category is the strongest signal you send about what you are. Pick the most specific one that is true, such as "Taco restaurant" instead of "Restaurant." Then add secondary categories only for things you genuinely offer, such as "Bar" or "Catering service." Five accurate categories beat nine stretched ones.
Your primary category tells Google what you are, so choose the most specific one that is true.
Turn on attributes and write a description
Attributes are the checkboxes that answer diners' quick questions. Mark dine-in, takeout, and delivery under service options. Then add the details people filter by: outdoor seating, wheelchair-accessible entrance, vegan options, good for kids, and whether you take reservations. Skip anything that is not true all the time, because a wrong attribute costs you a review.
Finish with the business description. You get 750 characters, and only the first 250 or so show before the "more" cut-off, so lead with your cuisine and neighborhood. A solid example: "Family-owned Oaxacan kitchen in Costa Mesa. Handmade tortillas, mole made daily, and a full patio bar." Keep it free of promotions, prices, and links, which Google does not allow in this field.
Step 4. Add your menu, photos, and order links
Diners decide with their eyes, so this step turns profile views into actual visits. A Google Business Profile for restaurants with a readable menu, fresh photos, and working order buttons gets far more taps than one with only a name and address.
Add a menu people can read
Open your profile editor and find the menu section. Add dishes as text, with names, short descriptions, and prices, instead of linking a PDF. Text menus load instantly on a phone and are easier for Google to read. Keep a menu link to your website as a backup for full details.
- Update prices the day they change.
- Note dietary details such as vegan or gluten-free.
- Remove seasonal dishes when they leave the kitchen.
Upload photos that make people hungry
Photos are the first thing diners look at. Google accepts JPG or PNG files from 10 KB to 5 MB, at least 720 by 720 pixels. Shoot in natural light and show real dishes, not stock images. Upload these categories:
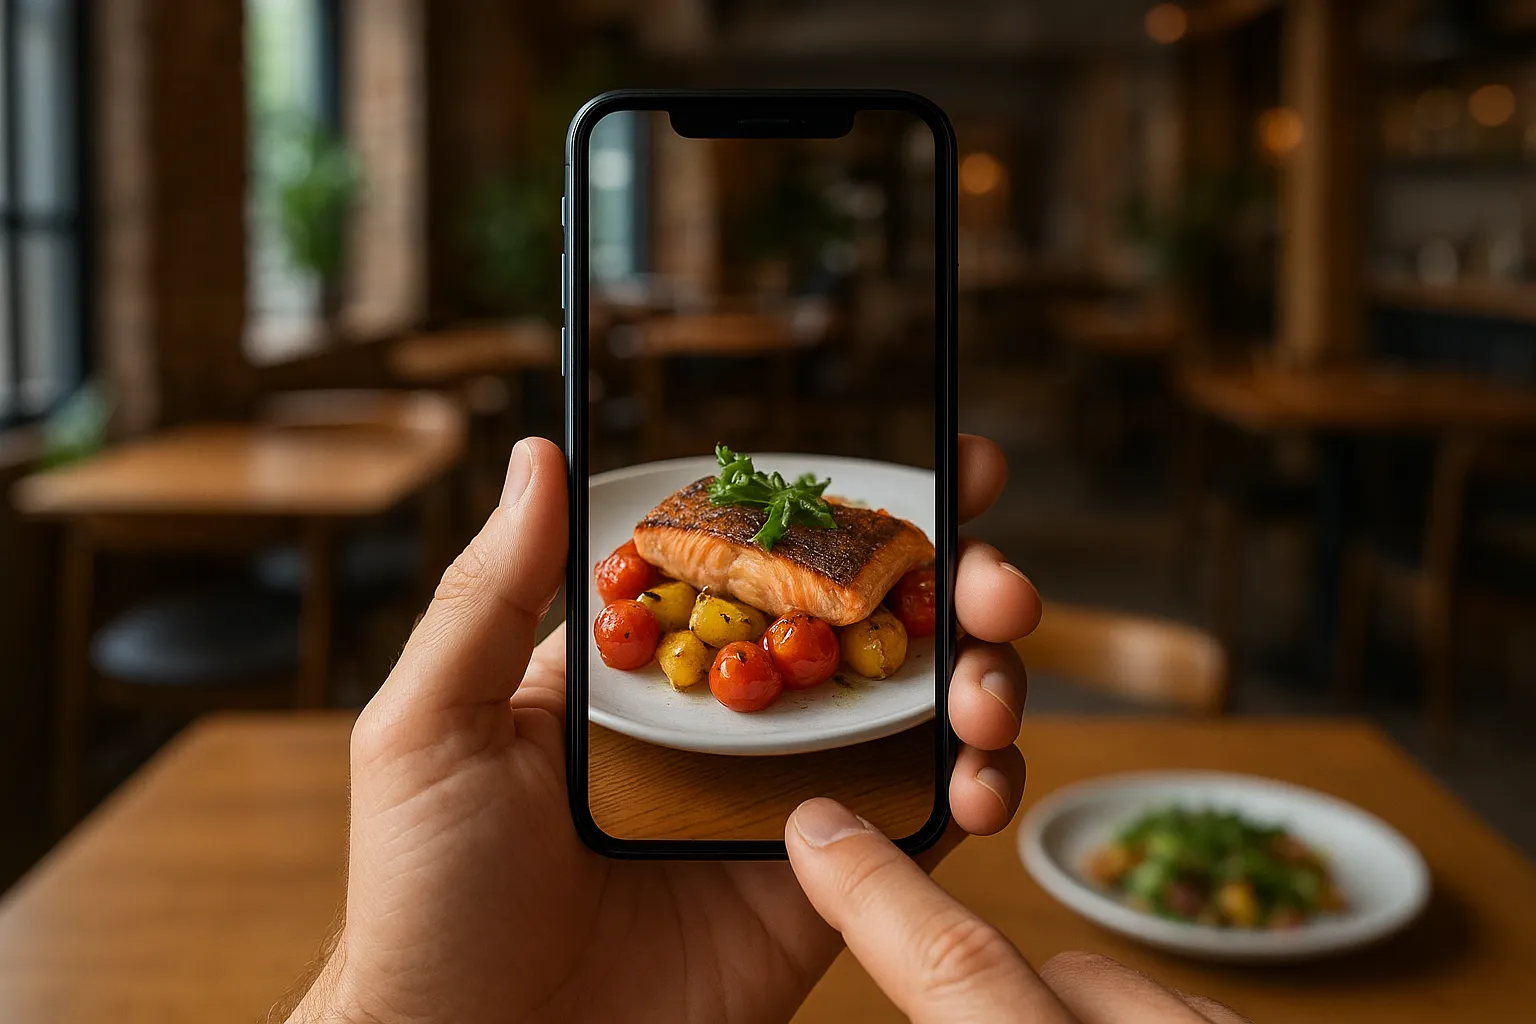
- Exterior and entrance, so people recognize the building
- Dining room and patio
- Signature dishes and drinks
- Your team and open kitchen
Start with at least 20 photos, then add a few every week.
Diners judge your food by your photos, so a few sharp, current shots beat a long description.
Connect ordering and reservation links
Add your online ordering and reservation links in the editor so the buttons appear on your listing. Use your own ordering page when you can. Delivery apps often charge commissions in the 15 to 30 percent range, so direct orders keep more of each sale. Tag the link so your analytics shows where orders come from:
https://yourrestaurant.com/order?utm_source=google&utm_medium=organic&utm_campaign=business_profile
Finally, tap every button from your phone. A broken order link costs you the sale at the exact moment a diner is ready to buy.
Step 5. Manage reviews, posts, and insights
Setup is only the start. A Google Business Profile for restaurants keeps its ranking through steady activity, not a one-time build. Plan on 15 minutes a week for reviews, one post, and a quick look at your numbers.
Ask for reviews and reply to every one
Ask happy diners for a review when they are happiest, such as when you drop the check. Copy your review link from the Ask for reviews option in your profile, then print it on receipts or a table card. Never offer discounts or freebies for reviews, because Google prohibits it.
Reply to every review within a day or two, good or bad. Thank positive reviewers by name and mention the dish they praised. For complaints, apologize briefly and take the details offline instead of arguing in public.
Your replies are read by future diners, so answer every review as if a new customer is watching.
Hi Maria, thank you for the kind words about our mole. We'll pass them to the kitchen. See you soon!

Hi Sam, we're sorry your wait ran long Friday. That's not our standard. Please email [email protected] so we can make it right.
Post one update a week
Google Business Profile posts put specials and events directly on your listing. Add a real photo and a button such as Order online or Reserve, then keep the text short. Good topics include:
- A weekend special or new seasonal dish
- Live music or trivia night
- Holiday hours and catering deadlines
Read your performance data
Open the Performance section of your profile every month. It shows how diners found you and what they did next. Use it to decide where to improve.
| Metric | What it tells you |
|---|---|
| Search and Maps views | How often you appear |
| Calls and direction requests | Real intent to visit |
| Website clicks and orders | Whether your links work |
If views are high but calls and directions are low, update your photos and menu first.
Putting your profile to work
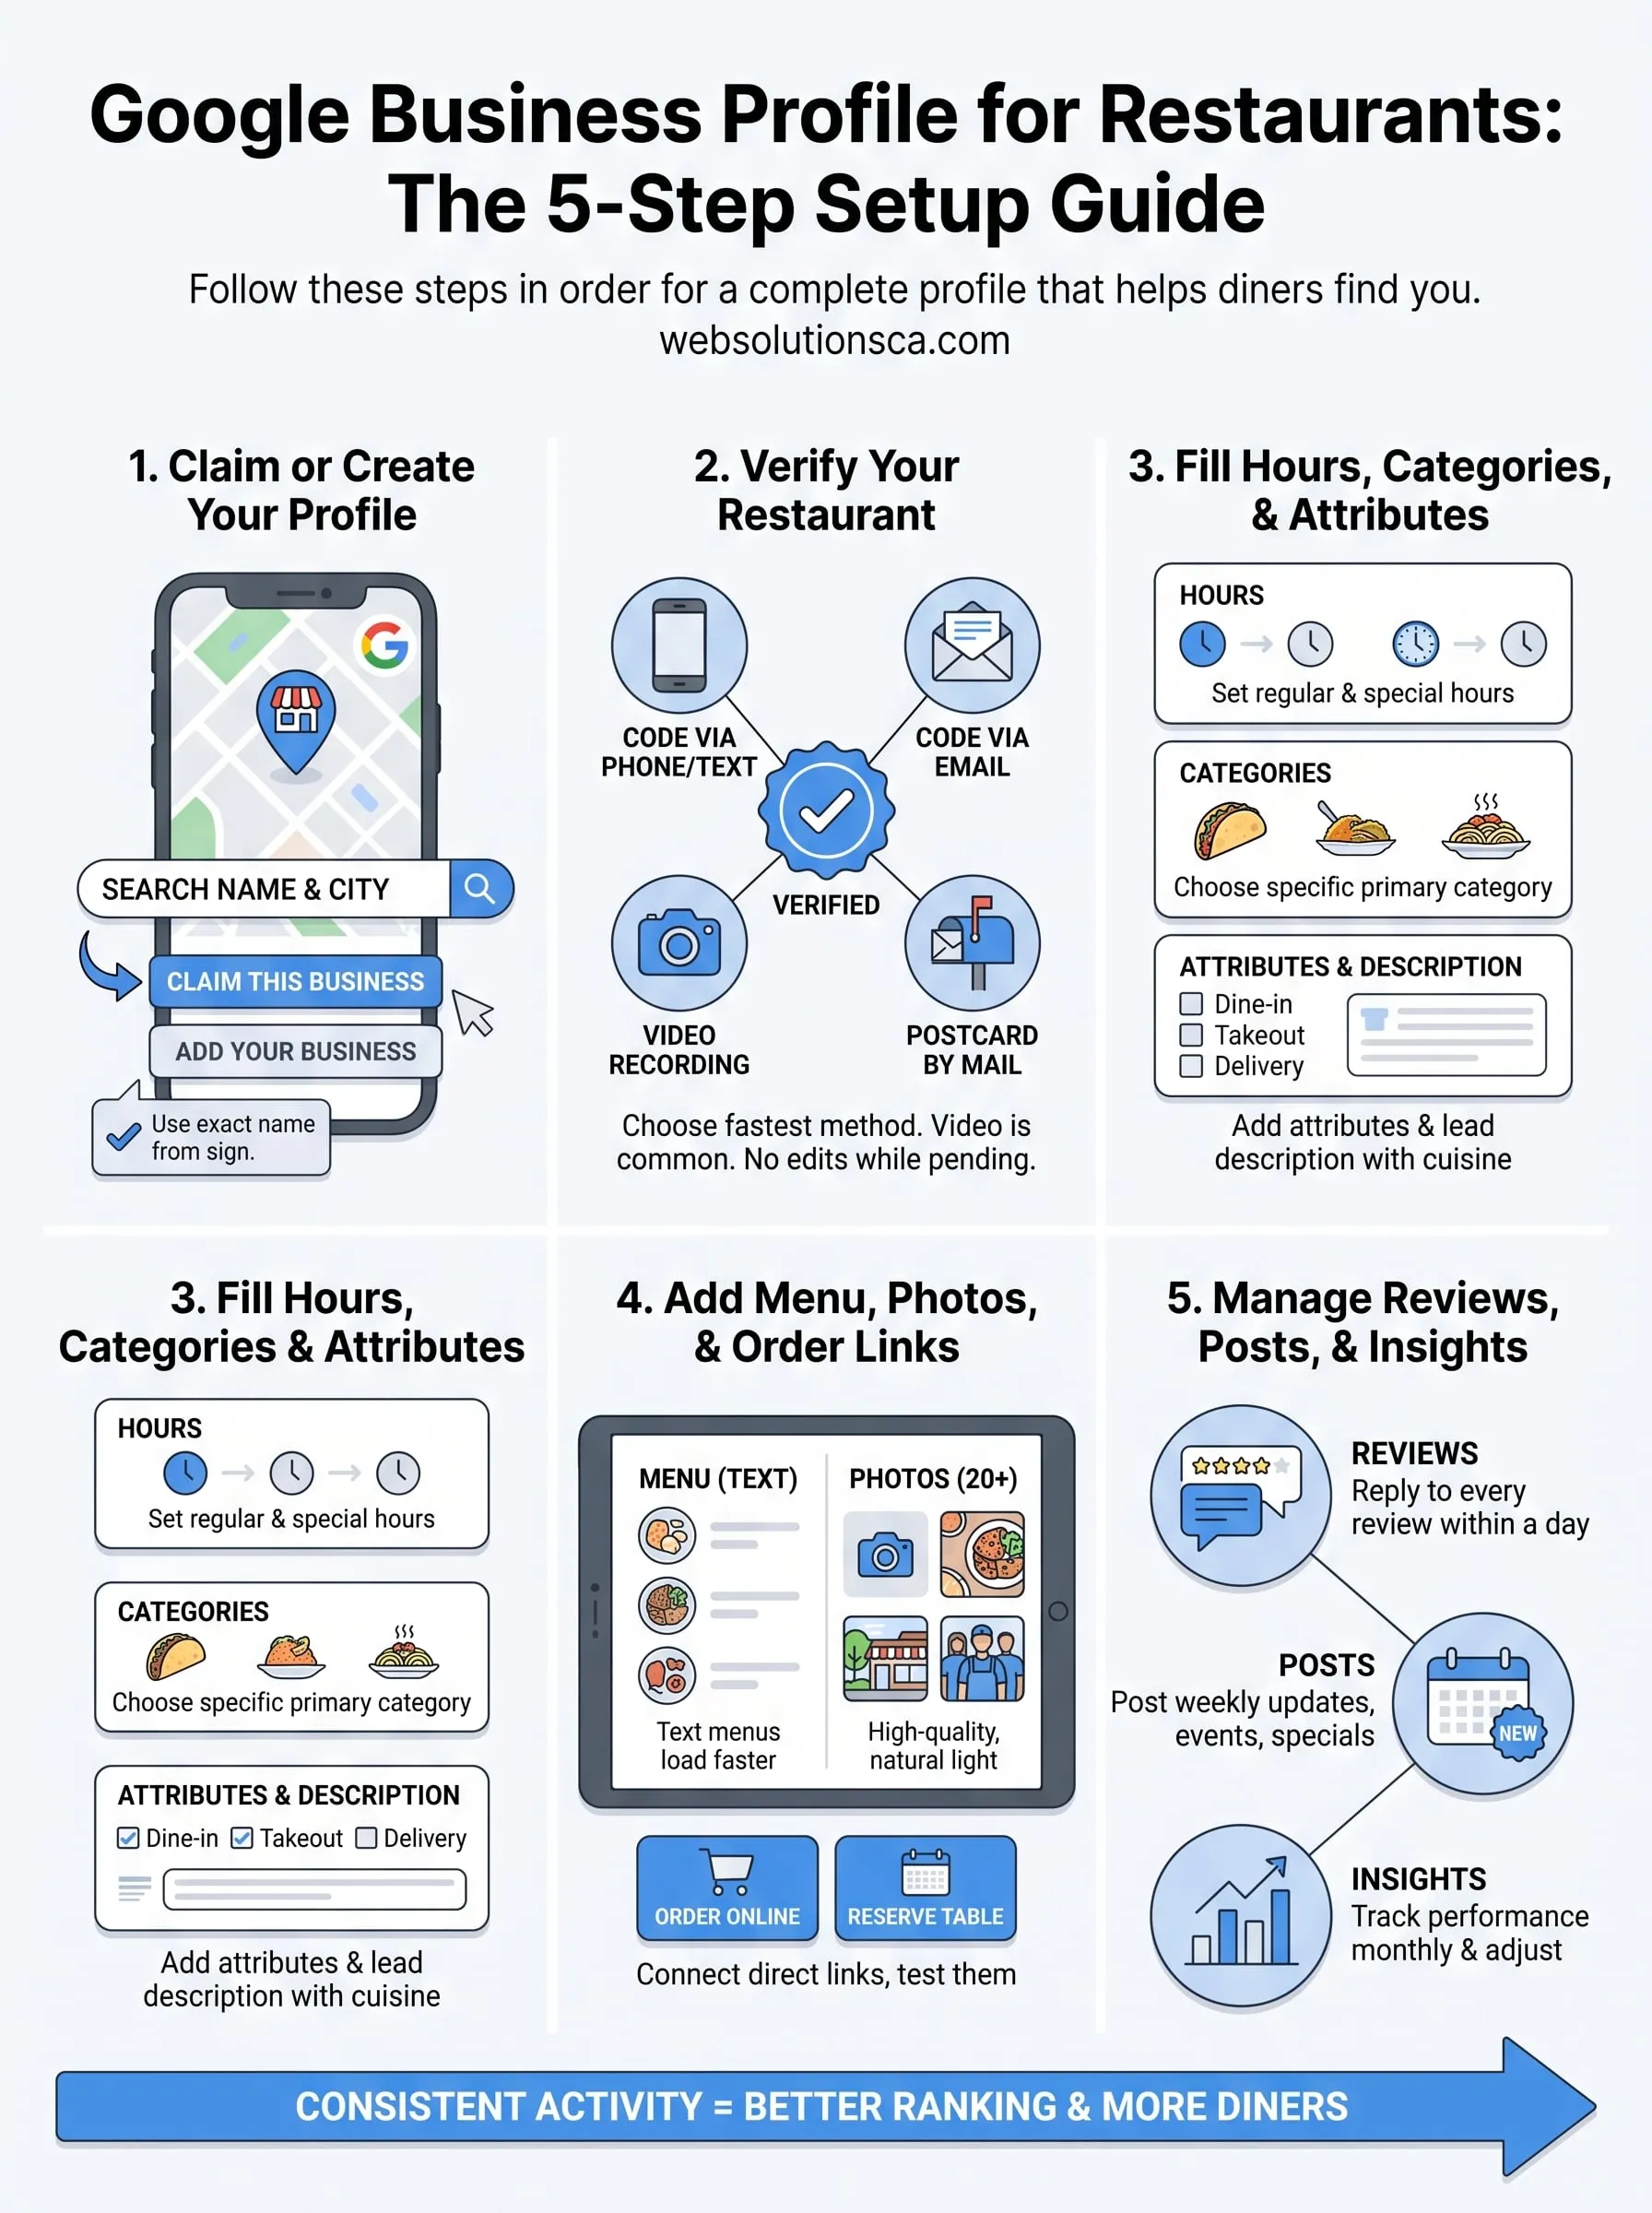
A strong Google Business Profile for restaurants comes down to five moves: claim the listing, verify it, fill in hours, categories, and attributes, add a text menu with photos and order links, then keep up with reviews and posts. None of it is hard. The restaurants that win the map stay consistent, instead of building one great profile and abandoning it.
Start today by searching for your own listing. After that, block 15 minutes each week and check your Performance numbers monthly. Small, steady updates add up to more calls, more direction requests, and more diners at your tables.
If you would rather hand this off, we can help. Web Solutions CA sets up and optimizes profiles for Orange County restaurants, and you can see how our local SEO and Google Business Profile services work. Tell us about your place and we will reply within 24 hours.